Grid Drawing Tool
Upload a reference photo and overlay a customisable grid to help with accurate sketching and proportion.
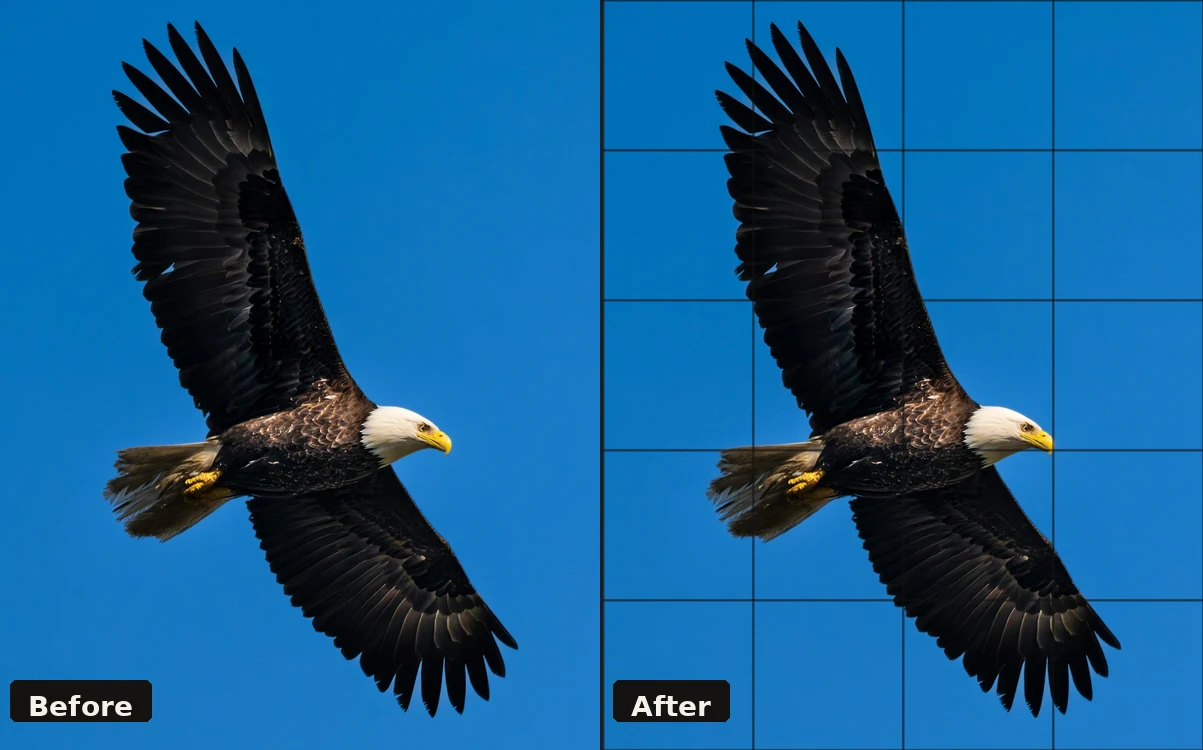
Upload an image to get started.
Your image will appear here with the grid overlay.
Printable grid paper for drawing
The grid method needs two grids: one over your reference, and a matching one on the paper you are drawing on. This tool does both. Use the controls above to overlay a grid on your photo, then use the grid paper option to generate and download a blank grid at the same proportions, ready to print. For more sizes and grid types — dot, isometric and triangle — see the dedicated printable grid paper generator.
You can set the square size directly — 1 inch, ½ inch, ¼ inch, 1 cm or a custom value — and pick a standard paper size so what comes out of your printer measures what you expect. Drawing your grid by hand with a ruler works too, but it eats studio time and small errors compound across the sheet.
A light grid is usually better than a dark one: print at a reduced opacity, or in a pale grey or blue, so the lines disappear under your drawing rather than fighting it. If you are working on paper you cannot print on, transfer the grid lightly in pencil and erase as you go.
How to practise the grid method
The grid method is one of the most reliable ways to train accurate observation. By breaking a reference into small squares, you stop seeing the whole image at once and start drawing what's actually in each cell — not what your brain assumes should be there. It builds proportion, spatial awareness, and the habit of measuring rather than guessing.
- Upload your reference. Choose a photo or artwork you want to study or transfer.
- Set your grid divisions. Start with 4–6 for a loose study; use 10–16 for precise transfer. The grid adapts to your image automatically.
- Download the Grid Image. This is your reference sheet — the photo with the grid drawn over it. Print it or keep it on screen.
- Download the Blank Grid Paper. Choose your paper size (A4, A3, etc.) and download a clean sheet with the matching grid already printed. The cell count matches your reference exactly.
- Print both and draw. Place your printed grid image beside your blank grid paper. Work one square at a time — focus only on what's inside each cell. This breaks the subject into manageable pieces and removes the intimidation of the whole.
- Erase the grid when done. If you drew lightly in pencil, the grid lines erase cleanly, leaving only your drawing.
Tip: Use the same number of grid divisions on both downloads. If your reference has 6×6 cells, your blank paper will have 6×6 cells — every square maps perfectly.